
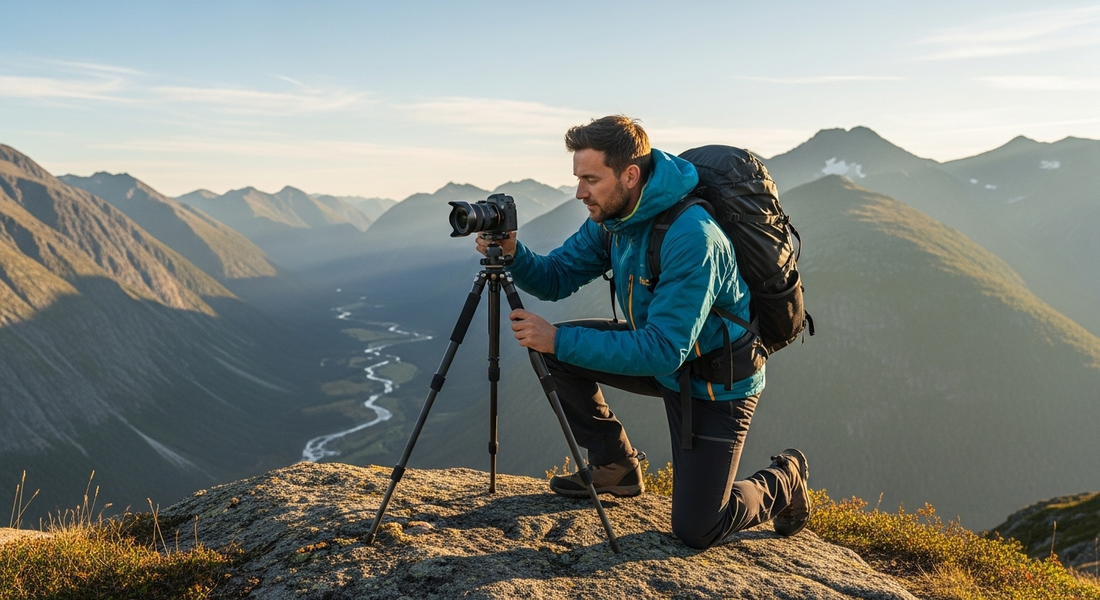
Buying guide: how to choose a lightweight tripod for hiking
Whether you are a photography enthusiast, an amateur videographer, or a nature lover, a lightweight tripod is a valuable ally during your hiking trips and travels. It helps stabilize your camera or binoculars, lengthen the exposure time, capture sharp shots, or observe nature in the best conditions. Faced with an abundant offer, it is not always easy to navigate. This guide helps you choose the ideal tripod for your outdoor adventures, by examining the essential criteria and sharing practical tips to optimize its use.
The essential criteria for choosing a hiking tripod
1. The material: carbon fiber or aluminum?
The choice of material directly influences the weight, robustness, and price of the tripod. Two main options are available to you:
- Carbon : Carbon fiber tripods are renowned for their lightness and their resistance to vibrations. They offer an excellent compromise between featherweight and stability, ideal for long walks. Their cost is nevertheless higher than that of aluminum.
- Aluminum : More affordable, aluminum is slightly heavier but remains solid and durable. It is suitable if budget is a decisive criterion and a few hundred extra grams are not an obstacle.
2. The total weight
In hiking, every gram counts. Favor a tripod whose weight does not exceed 1.5 kg, accessories included. Ultra-light models sometimes drop below the one-kilogram mark, without sacrificing stability. Remember to check if the weight shown includes the ball head, an essential element for orienting the camera.
3. Deployed height and bulk
The maximum deployed height should adapt to your usage. For landscape photography, a height of about 130 to 150 cm (excluding the central column) is appreciated. Compact tripods, once folded, typically measure between 35 and 45 cm, making them easy to transport in or on your backpack.
4. Load capacity
Check the maximum load capacity indicated by the manufacturer. A tripod intended for hiking should be able to support your equipment (body, lens, binoculars) without faltering. Plan for a safety margin of 20 to 30% beyond the real weight of your equipment to guarantee stability and longevity.
5. Stability and locking system
Lightweight tripods can be more sensitive to wind and vibrations. Prefer models equipped with non-slip feet, possibly with spikes for soft ground. The locking system (clamp or screw) should be reliable and quick to operate, even with gloves.
Practical tips for use while hiking
Properly securing your equipment
Before each shot, make sure your device's mounting plate is properly tightened. Check the stability of the ball head and adjust it to avoid any tipping. In windy conditions, hang a weight (backpack, water bottle) from the central hook of the tripod to improve stability.
Carrying your tripod safely
To avoid fatigue and shocks, fix your tripod to the outside of your backpack using straps designed for this purpose, or opt for a padded transport case. Some models fold enough to be slipped inside the bag. Stay vigilant on steep sections to avoid snagging the tripod on vegetation or rocks.
Maintaining your tripod
After each outing, clean the feet and moving parts to remove dust, sand or mud. Regular maintenance will extend the life of your equipment and ensure optimal operation in the field.
Conclusion
Choosing a lightweight tripod for hiking requires carefully evaluating the material, weight, height, load-bearing capacity, and stability. A suitable tripod makes shooting or nature observation easier in the great outdoors, while remaining discreet and easy to transport. By following these tips and taking the time to compare models, you will find the ideal ally to immortalize your most beautiful outdoor adventures.