
Trail camera installation guide: practical tips
Observing wildlife with a trail camera is an exciting and rewarding activity. Whether you are an amateur naturalist, a hunter, or simply curious about the animal life around you, installing a trail camera (also called a hunting camera) allows you to capture unique images and videos of animals in their natural habitat. This detailed guide will accompany you step by step in installing your trail camera, from site selection to maintenance, to optimize your observations and preserve the longevity of your equipment.
Choosing the ideal location
The choice of site is crucial for obtaining convincing results. Here are some tips to properly select the place to install your camera:
- Look for animal passages : identify trails, water sources, clearings, or areas where you regularly observe signs (tracks, droppings, fur).
- Favor open areas : avoid areas overly cluttered with vegetation that could hinder detection or obscure the lens.
- Adjust the orientation : to avoid backlighting, point the camera north or south. This also limits unnecessary triggers caused by the sun at low angle.
- Discretion : place the camera at a height of 50 to 100 cm from the ground, depending on the size of the targeted animals, and camouflage it with branches or foliage without obstructing the lens.
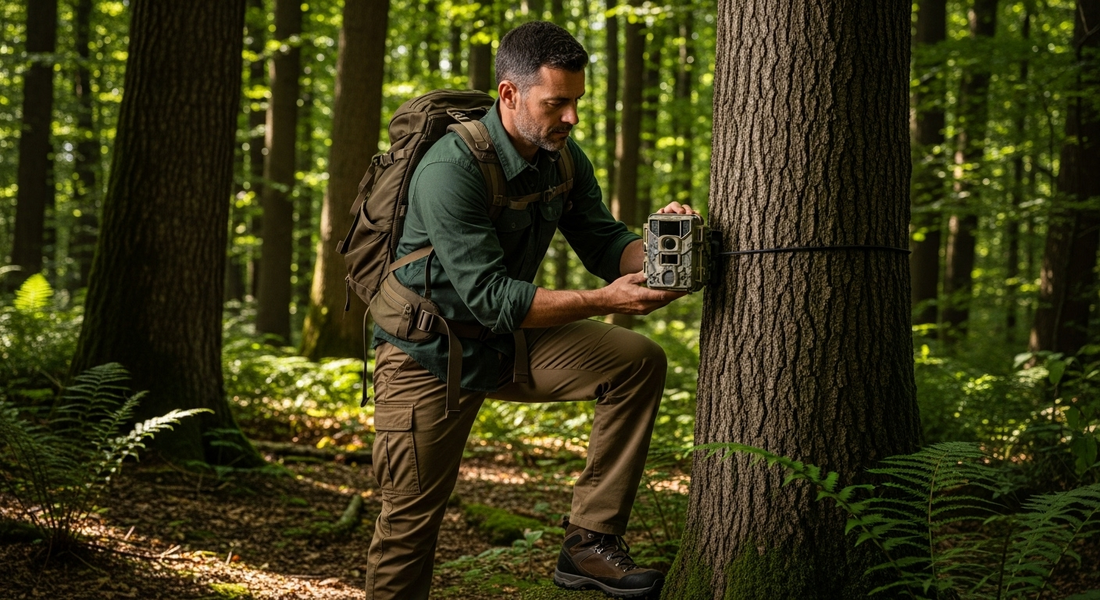
Install and mount the trail camera
Once the location is chosen, proceed to the installation:
- Mounting : most cameras come with a strap. Wrap it firmly around a sturdy tree or stake, at the appropriate height. Make sure the camera is stable and oriented toward the animal activity area.
- Inclination : make sure the camera is slightly tilted downward to maximize the detection zone and prevent rain from obscuring the lens.
- Check the field of view : take a few test photos to be sure that the angle adequately covers the animal passages and that nothing obstructs the lens or the infrared sensor.
Essential settings for an optimal capture
Once the camera is fixed, the settings are crucial for image quality:
- Motion sensor sensitivity : adjust the sensitivity according to the size of the animals sought and the frequency of passage. A setting too high can trigger the camera at the slightest movement (leaves, insects).
- Delays between captures : set an interval to avoid unnecessarily filling the memory card. An interval of 30 seconds to 1 minute is often sufficient.
- Photo and video quality : choose the resolution best suited to your need. A high quality offers better details but takes more storage space.
- Night mode : enable infrared night vision to capture animals active after sunset without disturbing them.
- Date and time : ensure that the date and time are properly set to facilitate tracking of observations.
Maintenance and verification tips
To ensure the proper functioning of your trail camera and the quality of your observations, regular maintenance is required:
- Regularly check the battery : replace or recharge the batteries to avoid recording interruptions.
- Empty and back up the data : regularly transfer the images and videos to your computer to free up space on the memory card.
- Clean the lens : remove dust, mud, or condensation that could affect image quality.
- Check the watertightness : ensure the camera seals are intact to protect it from moisture.
- Inspect the fixtures : over time or under wind, the camera may move. Adjust it if necessary.
Conclusion
Installing a trail camera requires a bit of preparation, but it opens the door to wonderful discoveries about wildlife. By following these steps, you maximize your chances of capturing unique moments while preserving your equipment. Patience and discretion will be your best allies for collecting authentic images of animals in their natural habitat.